
Installing System Rescue (CD) to a flash drive

System Rescue, the project formerly known as System Rescue CD, has moved from being based on Gentoo to being built on Arch Linux packages.
With this their ISO layout changed substantially so when updating my trusty recue USB flash drive, I could not just update the kernel, initrd and the root filesystem image as I had typically done every other year before.
The "Installing on a USB memory stick" documentation is good for Windows (use Rufus, it's nice) but rather useless for Linux. They recommend a dd or the fancy graphical version of that, called usbimager.
I much prefer to have a flash drive that I can write to over an image of a CD (ISO) written 1:1 onto the flash media.
The basic idea is to use the bulk of the System Rescue ISO contents but amend these with your own grub and syslinux so they work as intended over the supplied ones that are bound to the ISO layout a bit too much.
I did this on Debian Buster but with some adjustments to paths and what packages to install, any recent Linux distribution should do:
1. Download System Rescue and unpack the ISO
Download from https://www.system-rescue.org/Download/ and extract the files from the ISO.
cd MYTEMPSPACE && 7z x ~/Downloads/systemrescue-7.01-amd64.iso or so will do.
I am using System Rescue 7.01 which is the last release as of now. But if you read this a few months down the line, it will be a newer ISO. Use the latest release. Newer Linux kernels are usually better.
2. Partition the USB flash drive
Use gparted, parted, cfdisk or sfdisk to make MBR partition table and a single primary partition of type "FAT32 LBA" (type c).
I do not have any systems that need an EFI partition so I skip GPT and EFI partitions.
3. Format the USB flash drive partition
mkdosfs -F 32 -n "RESCUE701" /dev/sdX1
It is crucially important that the label of the partition is "RESCUExyz" with x.yz being the version number of System Rescue you are putting on the flash drive. This label is used to find the root file system. If you are upgrading a flash disk from a previous System Rescue version, fatlabel /dev/sdX1 RESCUExyz will do.
4. Copy over files
Mount the partition created in step 3 above, e.g. to /mnt/RESCUE701.
Copy the boot, EFI and sysresccd directories from the (extracted) ISO over to the root of your flash drive partition.
5. Install grub for EFI mode boot

grub-install --target=x86_64-efi --recheck --removable --efi-directory=/mnt/RESCUE701/ --boot-directory=/mnt/RESCUE701/boot/
This will install your OS version of grub to the USB flash drive in EFI mode.
Copy boot/grub/grubsrcd.cfg from the extracted ISO (or the Flash drive, it is there already) to /mnt/RESCUE701/boot/grub/grub.cfg renaming the file. That way your grub will find the config prepared by the System Rescue developers, too.
6. Install syslinux for BIOS mode boot

You may need apt install syslinux if you don't have syslinux installed already.
Install syslinux on the USB flash drive partition:
syslinux -i /dev/sdX1
Copy isolinux/isolinux.cfg from the extracted ISO to /mnt/RESCUE701/syslinux.cfg renaming the file.
Overwrite the boot code in the MBR with the one from syslinux:
dd bs=440 count=1 conv=notrunc if=/usr/lib/syslinux/mbr/mbr.bin of=/dev/sdX
You may want to uncomment the "Hardware Information (HDT)" section in
/mnt/RESCUE701/sysresccd/boot/syslinux/sysresccd_tail.cfg to enable that feature. Just because you can  .
.
Unmount the flash drive and try booting from it in BIOS mode and UEFI mode. Both should™ work.
If you see messages like "Secure Boot forbids loading module" ... you need to (temporarily) disable secure boot.

The upstream bug report has an info on how to enable secure boot if you really need it. But this alters the system that you are debugging, so disabling secure boot is probably better where you can.
I hope this will be good for two or so years again.
Update 17.03.2025
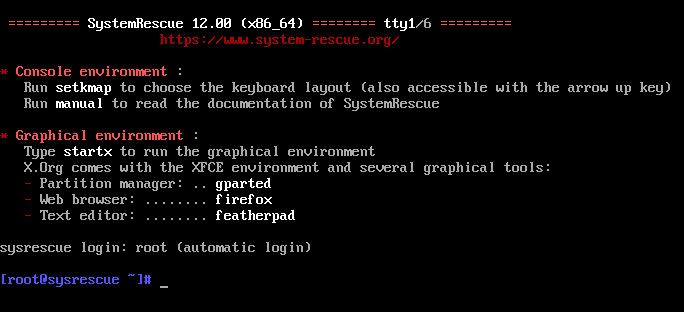
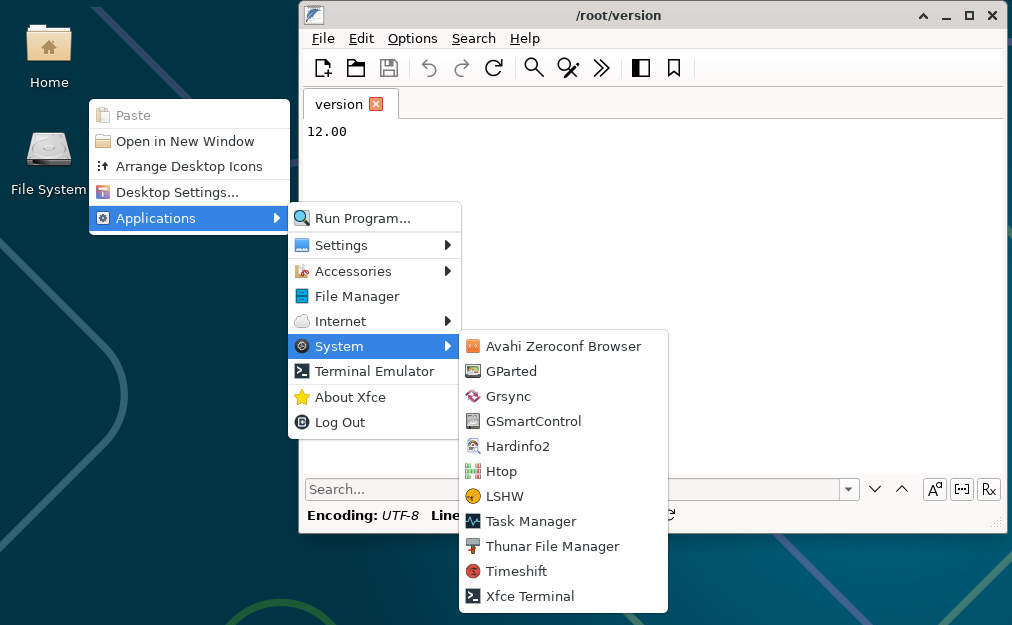
The instructions still work very well with the recently released System Rescue version 12.00.
The filesystem label for the USB stick needs to be "RESCUE1200". And there's two new directories, sysrescue.d and autorun that enable a bit more customization. You should copy them as well from the mounted iso to the usb stick.
Comments
Display comments as Linear | Threaded
Flo K on :
Thank you - especially for the syslinux instructions! Before I found your article I tried it myself. Just formatting with FAT32 and extracting the whole ISO using 7z to the stick was enough for me to make it bootable via UEFI. (
grub-installwas not required)